


Here is a video on how I hold a henna cone which is perfect if you've never used a henna cone before or if you are still quite new at it:
Holding a henna cone is quite simple, here are the steps:
Prepare the henna cone: Take the henna cone and gently squeeze it to make sure the paste is flowing freely.
Sometimes if you're using a henna cone with an open tip the henna paste at the very tip can oxidize a bit so you may want to squeeze and pull tip of the cone to clear out that part and then your paste should come out nicely!
You can either buy cones that are already made or make it from scratch at home with either a henna kit or henna powder & essential oils. Just watch out for chemical dyes (I can make a separate blog & video about that)!
To learn how to make your own henna at home check out our other blog post on our recipe & mixing process.
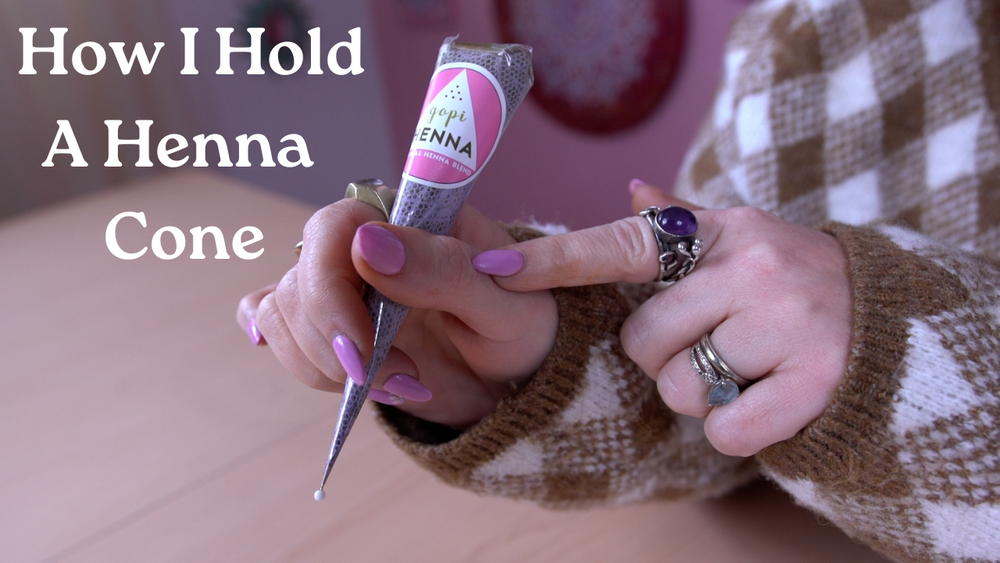
Grasp the henna cone: Hold the cone between your thumb and index finger. Sometimes using your middle finger to guide can be a comfortable position as well.
You will notice it is quite different to hold a full henna cone versus a half empty one. When the pressure reduces as you use up the henna in the cone I like to push the henna paste down and then fold the top over and squeeze from there. I have also found this method to help me work faster if I am working a busy festival or party.
To get a better visual check out this short video here!
Adjust the pressure: Adjust the pressure you are applying to the cone to control the flow of henna paste. You can increase the pressure to make the henna flow more quickly or decrease it to slow the flow down. This comes with time and practice!
You can even practice drills on paper to get a better feel for using your henna cone tool. I will link my henna drills video I made awhile back if you want to practice along:
Start applying: Start applying the henna paste by making small dots or simple lines, then gradually build up to more intricate designs. You can start with the basics and gradually add more intricate details as you become more confident with holding the cone. You can anchor your pinky and hold wrist tightly for those hard to reach areas.
Practice makes perfect: Henna application is a skill that takes time and practice to master. The more you practice, the more comfortable you will become with holding the henna cone and creating beautiful designs.
Remember, it is important to use a steady hand and keep the henna cone at a consistent angle while applying the paste. Good luck!